Effortless Grout Cleaning: Master the Art of Restoring Sparkling Tiles at Home
- Gather Supplies: List of necessary cleaning materials
- Preparing the Area: Clearing the space and protecting surrounding surfaces
- Mixing the Cleaning Solution: Step-by-step guide to creating an effective grout cleaner
- Applying the Solution: Techniques for applying the cleaner to the grout lines
- Scrubbing the Grout: Tips for using a brush or scrubbing tool to remove dirt and stains
- Rinsing and Drying: Proper methods for rinsing away the cleaning solution and drying the grout
- Preventive Measures: Suggestions for maintaining clean grout in the future
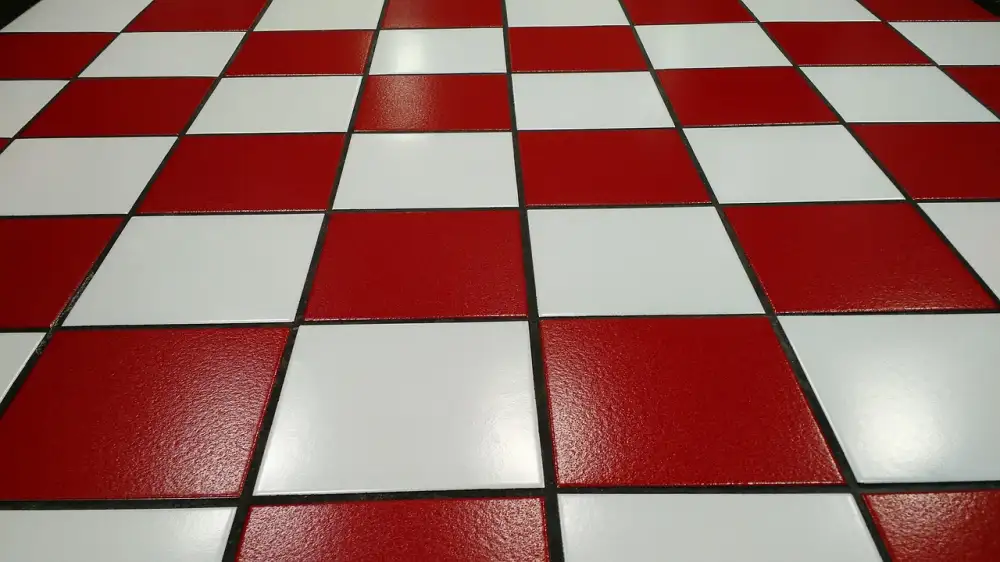
Grout, the material used to fill the gaps between tiles, may seem insignificant, but its cleanliness plays a crucial role in maintaining the overall beauty and hygiene of your home. Over time, grout can become discolored and stained due to dirt, spills, and everyday wear and tear. Neglecting to clean it not only detracts from the aesthetic appeal of your tiled surfaces but also allows harmful bacteria and mold to thrive. In this article, we will guide you through the process of effortlessly restoring sparkling tiles by mastering the art of grout cleaning at home.
Gather Supplies: List of necessary cleaning materials
To effectively clean grout, you will need a few essential cleaning materials. Here is a list of supplies you should gather before starting the cleaning process:
1. Grout cleaner: Choose a commercial grout cleaner or make your own using ingredients like baking soda, vinegar, hydrogen peroxide, or lemon juice.
2. Bucket: Use a bucket to mix the cleaning solution and hold water for rinsing.
3. Scrub brush or toothbrush: A sturdy brush with stiff bristles will help remove dirt and stains from the grout lines.
4. Sponge or cloth: Use a sponge or cloth to apply the cleaning solution and wipe away excess moisture.
5. Protective gloves: Wear rubber gloves to protect your hands from harsh chemicals in the cleaning solution.
6. Eye protection: Safety goggles are recommended to shield your eyes from any splashes during the cleaning process.
Having these supplies ready will ensure that you can efficiently tackle the task of grout cleaning and achieve sparkling results.
Preparing the Area: Clearing the space and protecting surrounding surfaces
Before you embark on the task of cleaning your grout, it is important to prepare the area properly. Start by clearing any objects or furniture from the space to ensure easy access to the grout lines. This will also prevent any potential damage to your belongings during the cleaning process.
Next, protect surrounding surfaces such as countertops, cabinets, and floors by covering them with plastic sheets or towels. This will prevent any splashes or spills from damaging these surfaces or leaving behind unwanted residue.
Taking the time to prepare the area before starting the grout cleaning process will not only make your job easier but also ensure that you can clean effectively without worrying about causing any damage to your home.
Mixing the Cleaning Solution: Step-by-step guide to creating an effective grout cleaner
To create an effective grout cleaner, you will need a few basic ingredients that you likely already have at home. Here is a step-by-step guide to mixing the cleaning solution:
1. Start by gathering white vinegar, baking soda, and warm water.
2. In a small bowl, mix equal parts white vinegar and warm water. For example, if you use 1 cup of vinegar, add 1 cup of warm water.
3. Slowly add baking soda to the mixture while stirring continuously. The amount of baking soda depends on the size of the area you are cleaning, but a good starting point is 2 tablespoons.
4. Keep stirring until the baking soda is fully dissolved and the mixture forms a paste-like consistency.
5. Let the solution sit for a few minutes to allow the ingredients to activate and work their magic.
By following these simple steps, you can create an effective grout cleaner that will help restore your tiles' sparkling appearance.
Applying the Solution: Techniques for applying the cleaner to the grout lines
When it comes to applying the cleaning solution to the grout lines, there are a few techniques you can use. One option is to pour the solution directly onto the grout lines and let it sit for a few minutes before scrubbing. Another technique is to use a spray bottle to mist the solution onto the grout lines. This allows for more controlled application and prevents excess solution from pooling on the tiles. Whichever method you choose, make sure to cover all the grout lines thoroughly with the cleaning solution to ensure effective cleaning.
Scrubbing the Grout: Tips for using a brush or scrubbing tool to remove dirt and stains
When it comes to scrubbing the grout, there are a few tips that can help you effectively remove dirt and stains. First, choose a brush or scrubbing tool that is appropriate for the size and depth of your grout lines. A small toothbrush or an old toothbrush with firm bristles can work well for narrow grout lines, while a larger brush or a grout brush with stiff bristles may be better for wider lines. Apply some pressure as you scrub back and forth along the grout lines, focusing on areas that are particularly dirty or stained. For stubborn stains, you can also try using a paste made from baking soda and water to gently scrub the affected areas. Remember to rinse the grout thoroughly after scrubbing to remove any residue, and dry it completely before moving on to the next step. With these tips in mind, you'll be able to restore your grout to its original clean and sparkling condition.
Rinsing and Drying: Proper methods for rinsing away the cleaning solution and drying the grout
Once you have scrubbed the grout lines and removed all the dirt and stains, it is important to thoroughly rinse away the cleaning solution. Start by filling a bucket with clean water. Dip a clean sponge or mop into the water and wring out any excess moisture. Gently wipe down the tiles and grout lines, making sure to remove any residue from the cleaning solution. Rinse out your sponge or mop frequently in the bucket of clean water to avoid spreading dirt or grime back onto the tiles.
After rinsing, it is crucial to dry the grout completely to prevent any moisture from seeping back into it. Use a clean towel or microfiber cloth to carefully dry the tiles and grout lines. Pay special attention to corners and crevices where water may accumulate. Allow sufficient time for the grout to air dry completely before walking on or using the tiled area again.
By following these proper rinsing and drying methods, you can ensure that your grout remains clean and free from any leftover cleaning solution, leaving your tiles sparkling and beautiful.
Preventive Measures: Suggestions for maintaining clean grout in the future
To ensure your grout stays sparkling clean, there are a few preventive measures you can take. Firstly, make it a habit to wipe down your tiles and grout regularly with a damp cloth or mop. This will help remove any surface dirt and prevent it from settling into the grout lines.
Additionally, consider applying a grout sealer every six months to protect the grout from stains and moisture. This will create a barrier that makes it easier to clean up spills before they have a chance to penetrate the grout.
Avoid using harsh chemical cleaners on your grout as they can cause damage over time. Instead, opt for natural cleaning solutions like vinegar and baking soda, which are effective yet gentle on the grout.
Lastly, be mindful of what you place on your tiled surfaces. Use coasters under glasses and mats or rugs in high-traffic areas to prevent dirt and debris from being tracked onto the tiles.
By following these preventive measures, you can maintain clean and beautiful grout for years to come, enhancing the overall appearance of your home.
In conclusion, regular grout cleaning is essential for maintaining the overall appearance of your home. By taking the time to clean and restore your grout, you can ensure that your tiles shine and sparkle, enhancing the beauty of any space. Clean grout not only improves the aesthetic appeal but also prevents the growth of mold and mildew, promoting a healthier living environment. So, master the art of effortless grout cleaning and enjoy the benefits it brings to your home!
Published: 11. 12. 2023
Category: Home